When we got the Starcraft, the tires looked fine and dandy. Sure a little rust color on the hub but nothing a little elbow grease couldn't fix. Upon closer inspection however, I noticed a lot of cracks on the sidewall of the tires.


This might be fine for a while but a potentially debilitating blowout on the highway could leave us very stranded, even with a spare. I decided to purchase replacement tires for each side. I was very excited when that new rubber on rim came shipped to the door. 5 Lugs and the deed is done.


I did some investigating and found out that the axle type used on the camper is called a Torsion Axle specifically from the patent by C.W. Henschen and manufactured by a now-extinct company, Duraflex. Basically, there are four rubber cylindrical rods in the square metal axle frame and these rubber rods act as a flexing point for the axle to move up or down for a smooth suspension.


I used a fourway lug wrench and the lugs loosened surprisingly easy. I jacked up the trailer to get the wheel off the ground and uncrewed the remaining lug nuts off the tire. So there we are, it should just slide right off, right? WRONG! The thing wouldn't budge. I pushed and pulled but nothing was working. We ultimately had to let the air out of the old tire to get it one.
This seemed strange to me. Why would you have to let air out of a tire to replace it? This seemed like something I needed a second opinion on.
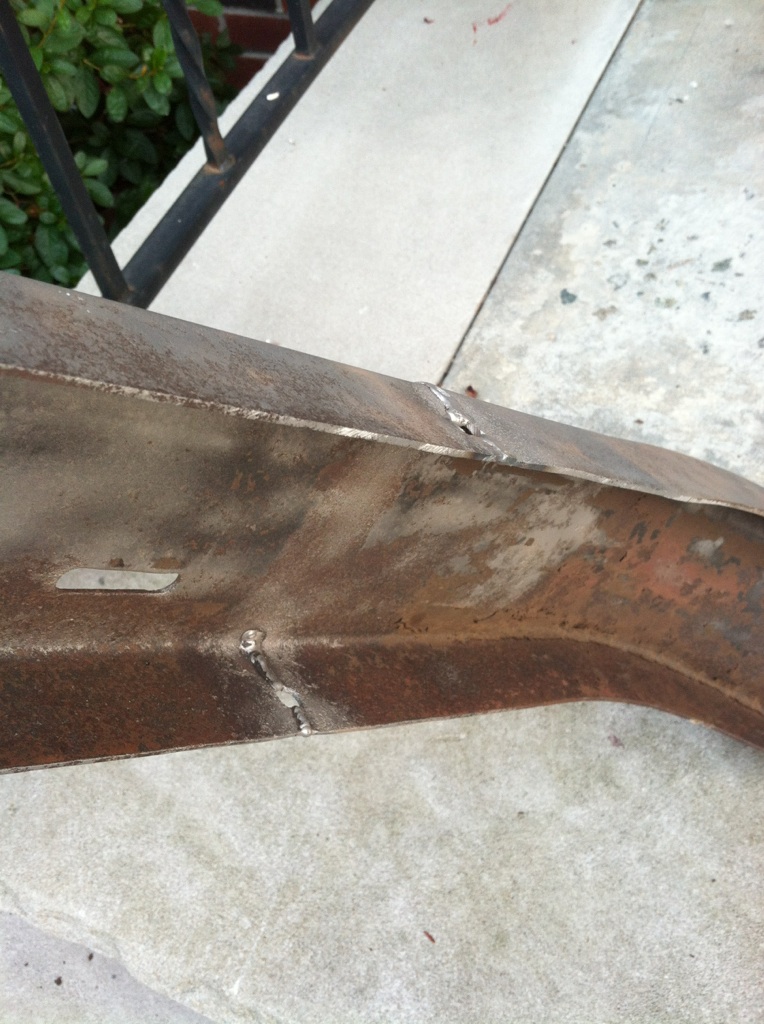
I use the all mighty internet search function to find other folks out there who had similar issues of replacing the tire. It led me to people with axle issues. People said the key to finding your exact type of axle is to find the manufactures tag which is sometimes missing. Fortunately, our axle still had it welded to the exterior as seen below.


Unfortunately, it seems that these types of axles expire with age as do most things. What should have happened when I jacked the side up was the wheel would drop down in the hub and thus allow for easy removal and replacement of the tire. Bummer
I quickly found out that these are no longer made (dur) but a company by the name of Dexter makes a very similar product. I reached out to their engineering dept and they ran some specs and asked a lot of questions that I didn't have the answers to but we made do anyways. They gave me a product number and I then reached out to local RV repair shops, auto body shops, RV dealerships, fix-em-up garages and basically any motor-head I could find.
It looks like the axle would be a special order and would have to be properly measured by a 'competent' individual who could then relay the necessary measurements to the engineers and manufactures. Then, once completed and shipped, I would need this hunk o metal attached to the frame. Something I could probably do with a lift, welding materials, a 3rd and 4th hand and about 10 years experience not to mention a workshop of tools and supplies.

This one is still a work in progress and I am looking at different avenues to get this fixed before our journey. I figure we can drop it off at a shop for a few weeks during the cold months to get this sorted. We got a lot completed thus far and can let the Starcraft get pampered at a mechanic.


I decided to put the new wheels on which involved deflating them, wedging it in the space between the fender and brake hub, and then re inflating them. At least it looks better and safer than the old ones.


See you in hell old rotting tires.